


 (1)-20251204034946188.jpg)


Welcome to OSCAL (Well-known China brand of rugged smartphone, tablet, and portable power station) blog. Hope this guide has been helpful.
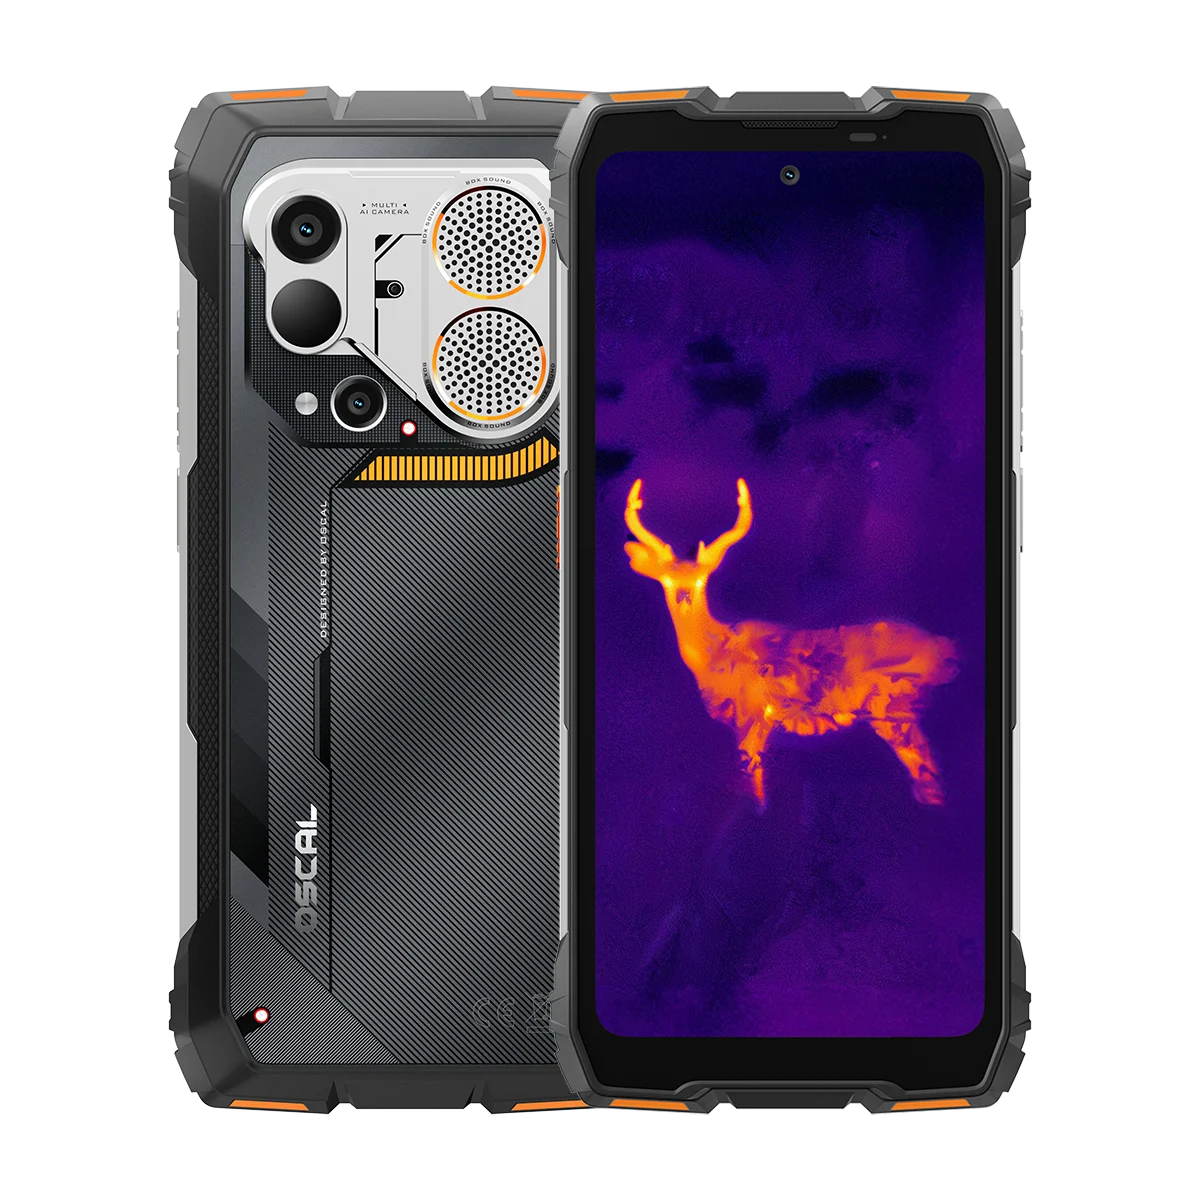
Thermal imaging phones (smartphones with an integrated or attachable infrared camera) don’t measure moisture directly — they measure surface temperature differences. That matters because wet areas often cool or heat differently than dry surroundings, creating thermal patterns a camera can show. In practice, a thermal camera phone can hint at moisture by revealing cooler patches caused by evaporative cooling or warmer zones where wet materials retain heat longer.
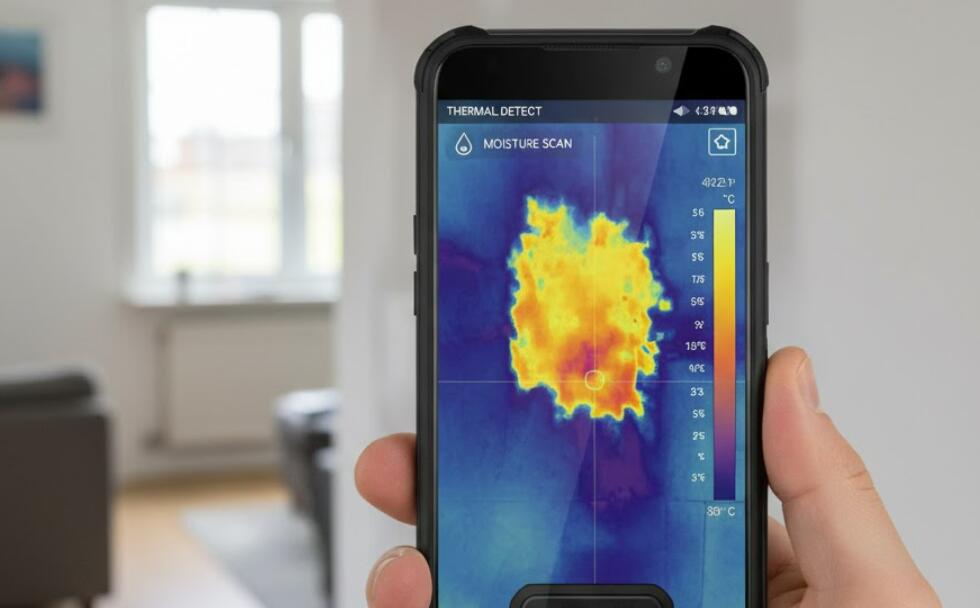
Before you rely on a thermal image for a diagnosis, it helps to know what the camera actually “sees,” what causes confusing signals, and how to use the tool effectively alongside other methods. This short guide explains how moisture appears in thermal images, the limits of phone-based IR, and practical steps to improve your chances of spotting real water issues.
How moisture shows up in thermal images
Moisture changes the thermal behavior of materials in two main ways:
- Evaporative cooling — As water evaporates it draws heat from the surface, which can make damp spots appear cooler than dry areas.
- Thermal mass and conductivity — Wet materials often store and conduct heat differently, so after heating or cooling events they display distinct temperature gradients.
Limitations of thermal phones for moisture detection
Phone-based thermal cameras are handy but limited. Most have lower resolution and sensitivity than professional thermal imagers, which means small or subtle moisture patches may be invisible. Surface temperature readings can be affected by sunlight, recent heating or ventilation, insulation behind a wall, or differences in material emissivity (the ability to emit infrared radiation). False positives are common — for example, a cold pipe, shadow, or cool paint patch can mimic a wet area.
Best practices for using a thermal phone to find moisture
Follow these practical tips to get more reliable results:
- Scan under stable conditions — avoid direct sunlight and strong drafts; early morning or late evening often gives steadier contrast.
- Create contrast — if possible, apply a controlled heat or cool event (e.g., warm the area briefly or wait until after a cooler night) so wet and dry areas separate thermally.
- Move closer and pan slowly — capture the scene from multiple angles and distances; low-resolution sensors benefit from careful framing and multiple shots.
- Use the camera as a screening tool — treat thermal images as indicators, not proof. Confirm suspicious areas with a probe moisture meter, moisture-sensitive paint, or by opening a small inspection hole if appropriate.
- Account for materials — wood, concrete, plaster, and carpet behave differently; know the typical thermal character of the surface you’re scanning.
When to call a professional
If you find patterns that suggest hidden leaks, structural damp, or mold risk — especially around roofs, plumbing, or foundations — involve a building professional. Experts use higher-sensitivity thermal cameras, moisture meters, and non-destructive testing to confirm sources and recommend repairs.
In summary, a thermal imaging phone can be a fast, non-contact way to spot possible moisture problems, but it cannot detect water directly. Use it as an intelligent first step: gather thermal clues, follow with targeted verification, and consult professionals for repair and remediation when needed.