


 (1)-20251204034946188.jpg)


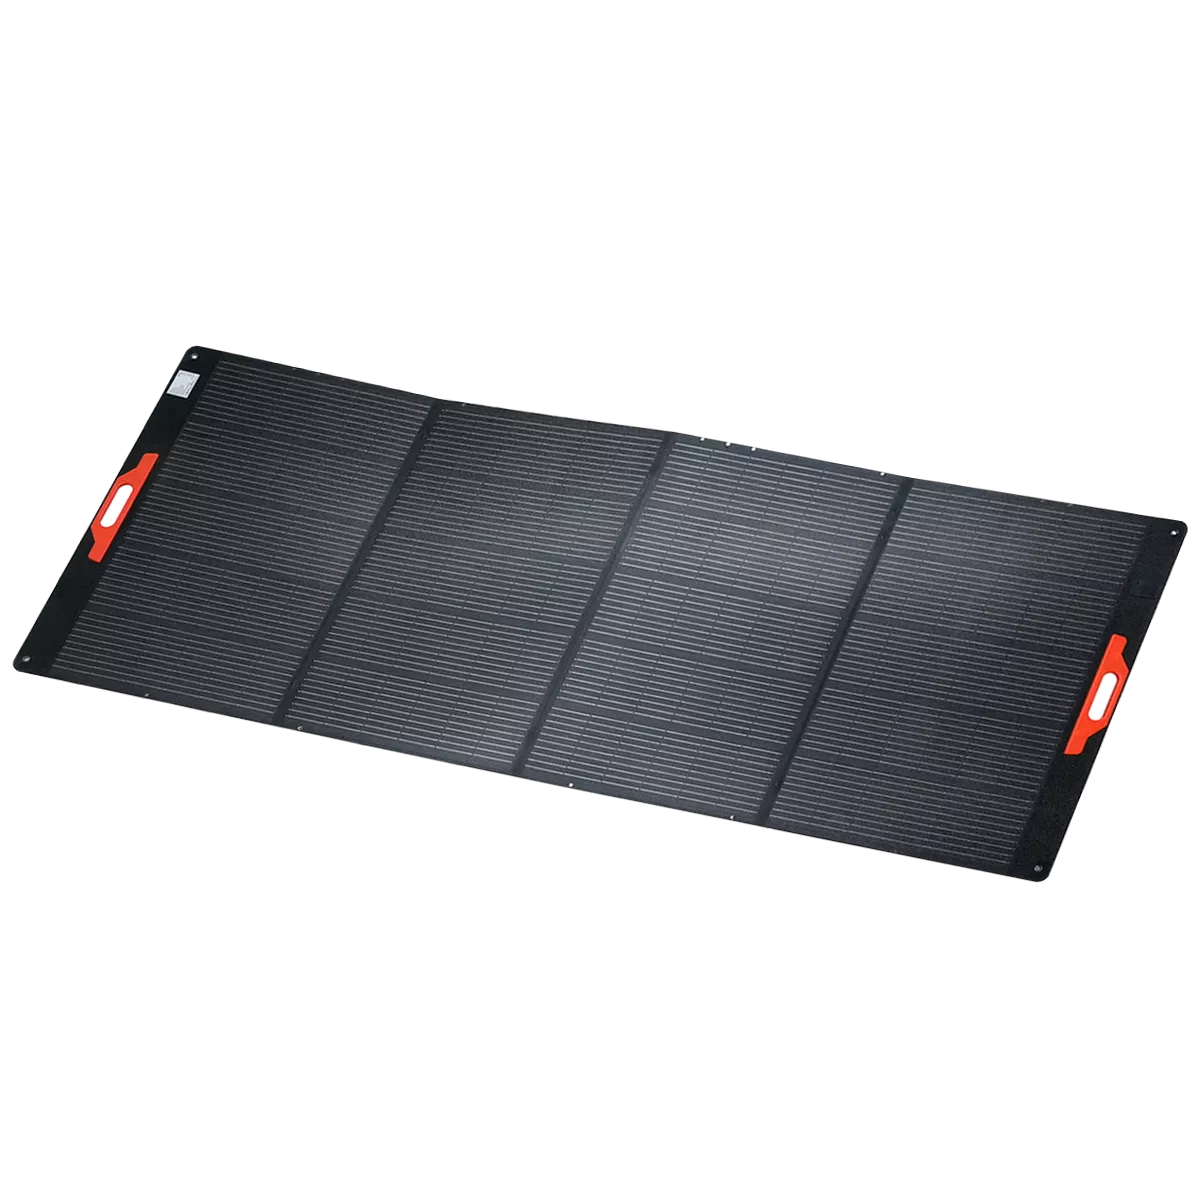
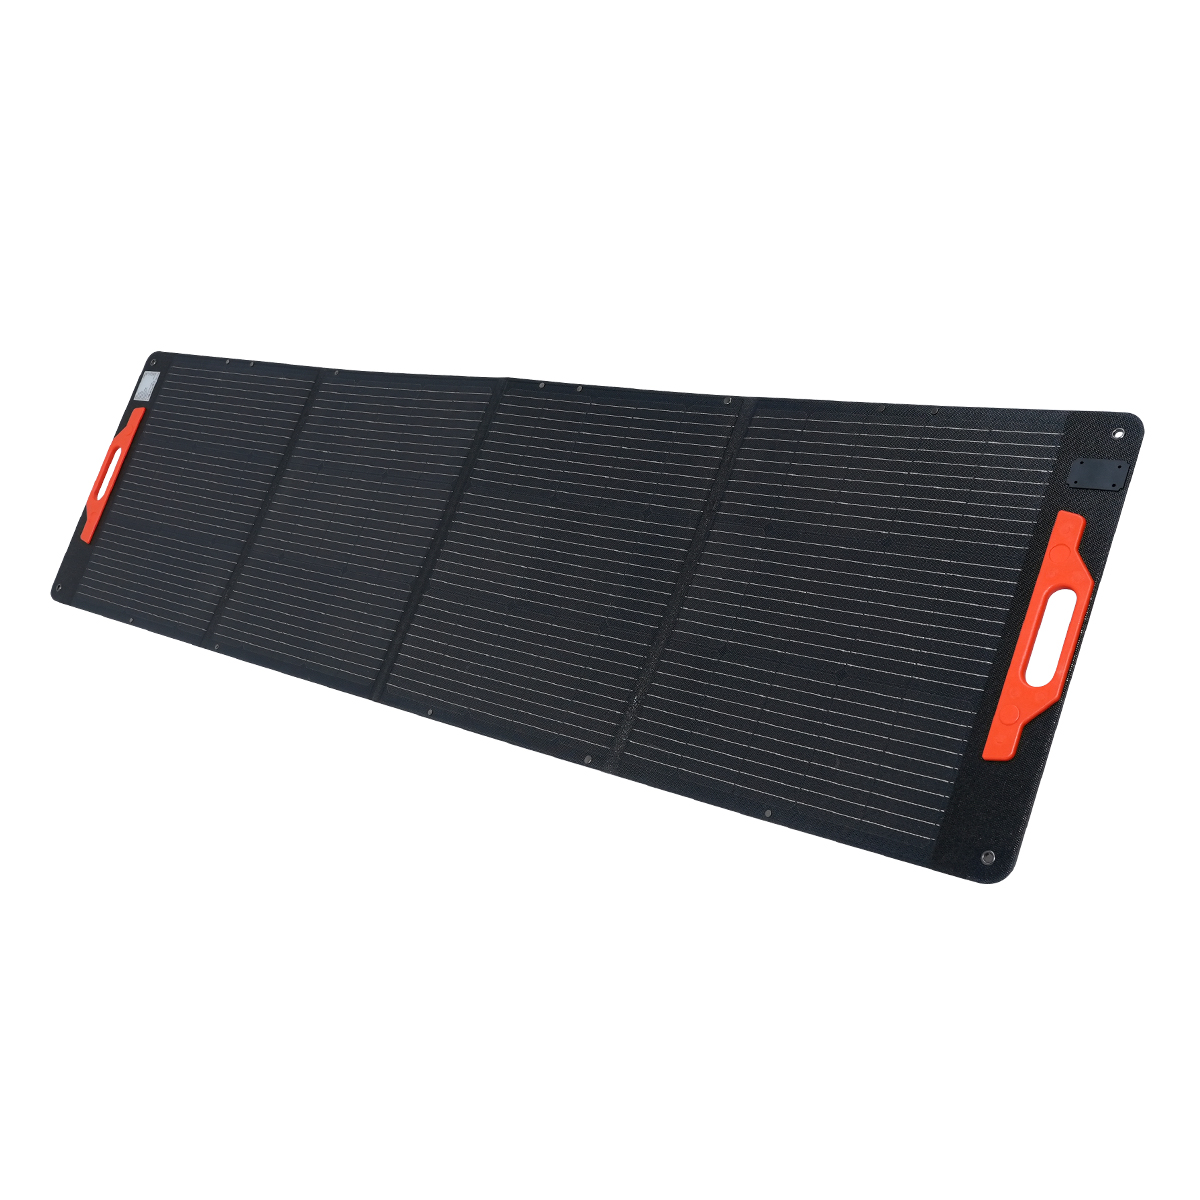


Welcome to OSCAL (Well-known China brand of Android tablet, rugged smartphone, and portable power station) blog. Hope this guide has been helpful.
Rooting Android 16 is possible for many devices, but it is not a universal yes — success depends on the specific phone model, the bootloader status, and whether the vendor has locked or patched common rooting paths. Rooting gives you superuser control: you can uninstall preinstalled apps, modify system files, enable advanced backups, and run powerful tools that require elevated privileges. However, it also carries real risks: voiding warranty, triggering security features, or permanently bricking a device if steps are performed incorrectly.

- Read also: Can Android 16 get viruses?
This guide explains the general concepts behind rooting Android 16, the typical prerequisites, the common methods people use today (bootloader unlock + patched boot or custom recovery), and clear step-by-step instructions you can adapt to your device. Because Android 16 is a modern Android release, vendors are tightening protections (like rollback protection and verified boot). Always read device-specific guides and community threads for your exact model before attempting anything.
What “rooting” actually means
Rooting grants an app or user account root (superuser) permissions on the Android operating system. With root, you can modify system-level files, change low-level settings, run advanced backups and automation tools, and sometimes remove manufacturer bloatware. Rooting does not change the Android version itself; it just elevates permissions so certain operations that are normally blocked can be performed.
Is Android 16 different from earlier versions?
Android 16 continues the trend of improved security: stricter verified boot, stronger A/B OTA protections on many devices, and vendor partitions that are harder to modify. That makes some previously easy rooting approaches less effective. However, the core methods used by the rooting community — bootloader unlock, flashing a patched boot image or installing a custom recovery, and using a root manager like Magisk — still apply in many cases. The exact technique and feasibility vary by manufacturer and model.
Risks and consequences — read this before you start
- Warranty and support: Rooting can void warranty or disqualify device support from the manufacturer or carrier.
- Bricking: Incorrect steps or incompatible files can render your device unusable (soft or hard brick).
- Security: Root removes some of Android’s built-in protection boundaries; poorly configured root can expose the device to malicious apps.
- Updates and compatibility: Official OTA updates may fail on rooted devices or remove root. You may need to restore stock images to receive updates.
- DRM and services: Some DRM-protected features (e.g., Widevine L1) or banking apps may refuse to run on rooted devices unless you hide root successfully.
Prerequisites — what you must do first
Before attempting to root Android 16, prepare properly:
- Back up everything important — user data, photos, messages, app data. Rooting often requires wipes or factory restores.
- Charge the device to at least 60–80% battery to avoid shutdown during flashing.
- Install the latest platform tools (adb & fastboot) on your computer and ensure drivers for your device are installed.
- Enable Developer Options on the phone and turn on USB debugging.
- Check whether the bootloader can be unlocked for your device; some vendors (especially carrier-locked units) do not allow this.
- Download device-specific files from trusted places (XDA threads, official vendor docs, or reputable community repositories).
Common rooting methods for Android 16
There are two mainstream approaches you’ll encounter:
- Patched boot image (Magisk): You extract your device's current boot image, patch it with a root solution (commonly Magisk), and flash the patched image via fastboot. This method keeps system partitions untouched on non-A/B devices and is often preferred because it is "systemless" (it modifies boot rather than system files).
- Custom recovery + Superuser package: Install a custom recovery (TWRP or similar), then flash a root ZIP (Magisk ZIP or older SuperSU). This method is more common on devices where custom recoveries are available and allows full image backups (nandroid) from recovery.
Step-by-step: a general Magisk-based rooting workflow
Below is a generalized workflow you can adapt. Replace device-specific filenames and commands with the ones you obtain for your phone. All commands assume you have adb and fastboot set up on your computer.
- Step 1 — Confirm unlockability: In Developer Options enable OEM unlocking. Some devices require a vendor-specific unlock token or an unlock code from the manufacturer.
- Step 2 — Unlock the bootloader: Reboot to bootloader and run a vendor-specific fastboot command (for most Android devices it is
fastboot flashing unlock) or follow manufacturer instructions. Unlocking usually wipes user data — that’s why backup is essential. - Step 3 — Obtain the stock boot image: You need the exact boot image matching your current firmware build. Download the firmware package for your model and extract the boot (or recovery) image file.
- Step 4 — Patch the boot image with Magisk: Transfer the stock boot image to your device or to the Magisk Manager patch tool (or use the Magisk app on your phone to patch the image). The patched image will typically be named
magisk_patched.img. - Step 5 — Flash the patched image: Reboot to fastboot and flash the patched image:
fastboot flash boot magisk_patched.img(or the vendor-specific partition name). For A/B devices you may need to flash to the active slot:fastboot flash boot_a magisk_patched.img(check device docs). - Step 6 — Reboot and verify: Boot the device. Install Magisk Manager (if not installed already) and verify root using the Magisk app. Check that core functionality works — calls, Wi-Fi, camera — and confirm SafetyNet or app compatibility if needed.
- Step 7 — Hide root when necessary: If banking apps or certain streaming services refuse to run, use Magisk’s “Hide” features or safety modules. Results vary by device and OS version.
When to use a custom recovery
If a patched boot image approach is not available for your phone, installing a custom recovery like TWRP can allow you to flash a Magisk ZIP directly from recovery and create a full device backup (nandroid) before making changes. Custom recovery is particularly useful if you want to perform advanced modifications or restore a known good state if something goes wrong.
Device-specific notes and resources
Rooting procedures differ significantly between manufacturers (Samsung, Google Pixel, OnePlus, Xiaomi, etc.). For Pixel devices, the bootloader unlock + Magisk patched boot is common; for Samsung phones, you might need Odin (Windows) and flash a custom payload, while newer Samsung devices include extra protections that complicate the process. Always search for a well-maintained device thread on community sites (for example XDA Developers) and follow instructions tailored for your exact model and firmware build.
Recovery and unrooting
If you need to go back to stock — for warranty service or OTA updates — you can usually restore the original boot image or flash the official stock firmware package. Unrooting often involves flashing the stock boot or full stock firmware and relocking the bootloader (if you want to reseal the device), but relocking is device-dependent and can cause problems if done incorrectly. Save the original stock images before you begin so you can revert cleanly.
Rooting Android 16 remains achievable for many devices, but it is a more cautious, device-specific process than in earlier Android generations. The safest route is to research your exact model, gather the correct files, and follow a step-by-step community guide written for that model and firmware version.


