


 (1)-20251204034946188.jpg)


Welcome to OSCAL (Well-known Chinese brand of rugged outdoor smartphones, Android tablets, and portable power stations) blog. Hope this guide has been helpful.
Controlling a drone with your smartphone is one of the most convenient and beginner-friendly ways to start flying. Modern consumer drones are designed to pair easily with mobile devices, allowing you to see a live camera feed, adjust flight settings, and pilot the drone directly from your phone’s screen.
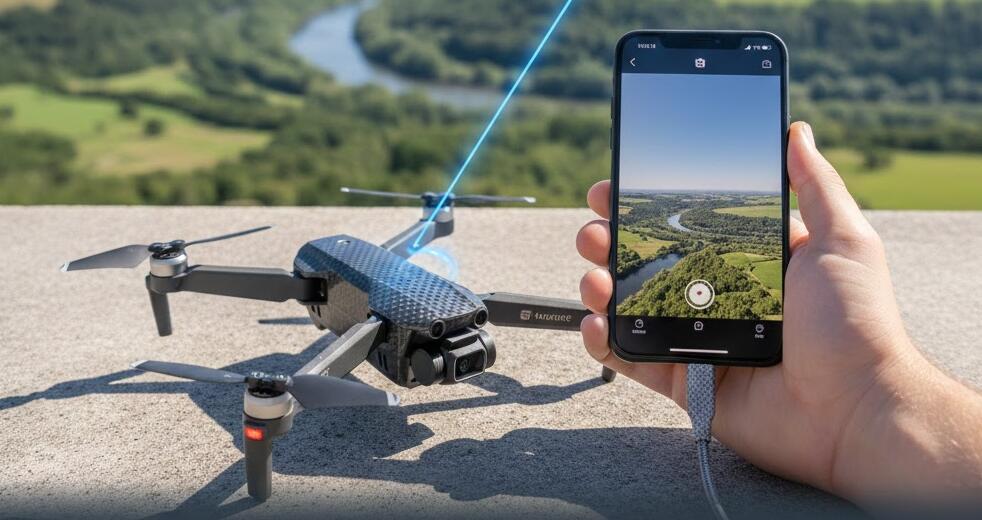
While different brands and models may have slightly different procedures, the overall connection process follows the same logic. This guide walks you through clear, detailed steps so you can confidently connect your drone to your phone and start flying safely and smoothly.
Before You Start: What You Need
Preparing everything in advance will save time and prevent connection issues. Make sure the following items are ready before you begin.
- A fully charged drone battery
- A fully charged smartphone
- The drone’s official mobile app installed on your phone
- A stable environment with minimal wireless interference
- Wi-Fi or mobile data access for initial setup if required
Step 1: Install the Official Drone App
Most drones require a dedicated mobile application to function properly. Open your phone’s app store and search for the app recommended by the drone manufacturer. Download and install it, making sure it matches your exact drone model.
Once installed, open the app and allow all required permissions. These often include access to location, camera, storage, and Bluetooth or Wi-Fi. Denying these permissions may prevent the drone from connecting or functioning correctly.
Step 2: Power On the Drone
Place your drone on a flat, stable surface. Turn it on by pressing the power button according to the manufacturer’s instructions. Many drones use a short press followed by a long press to power on.
Wait until the drone’s indicator lights stabilize or flash in a specific pattern. This usually means the drone is ready to pair and broadcasting a signal.
Step 3: Enable Wi-Fi or Bluetooth on Your Phone
Depending on the drone model, it may connect to your phone using Wi-Fi, Bluetooth, or both. Open your phone’s settings and enable the required connection method.
For Wi-Fi-based drones, you will typically see the drone’s network name appear in the list of available Wi-Fi networks. Select it and connect. For Bluetooth-based models, pairing is usually handled directly inside the app.
Step 4: Connect Through the App
Open the drone app after your phone is connected to the drone’s signal. The app will usually detect the drone automatically and prompt you to confirm the connection.
Follow the on-screen instructions carefully. Some apps may ask you to create or log into an account, update firmware, or complete a quick setup wizard before allowing flight control.
Step 5: Calibrate the Drone
Calibration ensures stable flight and accurate controls. Most apps will guide you through calibrating the compass, gyroscope, or sensors during the first connection.
- Keep the drone still when instructed
- Rotate the drone slowly if prompted
- Follow visual or audio cues from the app
Skipping calibration can lead to drifting, unstable flight, or loss of control.
Step 6: Check Live Camera Feed and Controls
Once connected, you should see a live video feed from the drone’s camera on your phone screen. This confirms that the connection is successful.
Test the virtual joysticks or touch controls without taking off. Verify that the drone responds correctly to basic commands such as throttle, yaw, and direction.
Step 7: Perform a Safe Test Flight
Choose an open area away from people, buildings, and obstacles. Use the app’s takeoff button or manual controls to lift the drone a short distance off the ground.
Keep the drone at low altitude for the first flight. Practice gentle movements and observe how the drone responds to your phone controls before flying higher or farther.
Troubleshooting Common Connection Issues
If your drone does not connect, restart both the drone and your phone. Make sure no other devices are connected to the drone’s Wi-Fi signal.
Also check that your app and drone firmware are up to date. Interference from nearby networks or low battery levels can also affect the connection.
Phone battery doesn't last long, how to do?
Most standard smartphones come with a battery capacity of around 5000mAh. While this is enough for everyday use, you may often feel frustrated by poor battery life, especially when flying a drone outdoors. Live video transmission, GPS, screen brightness, and constant wireless connections can drain your phone’s battery much faster than expected.
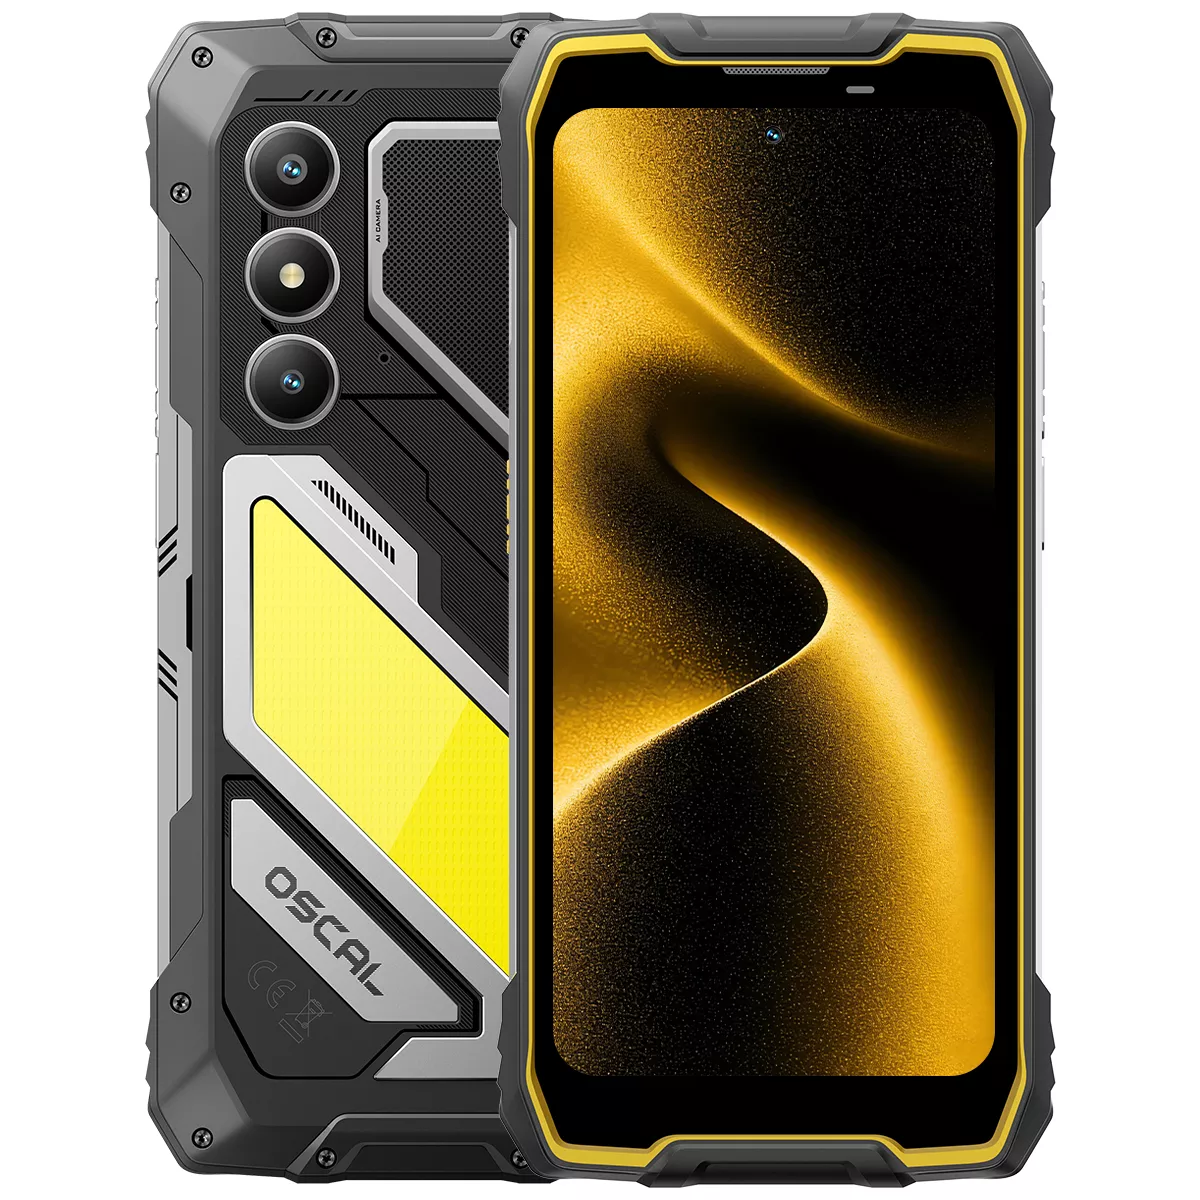
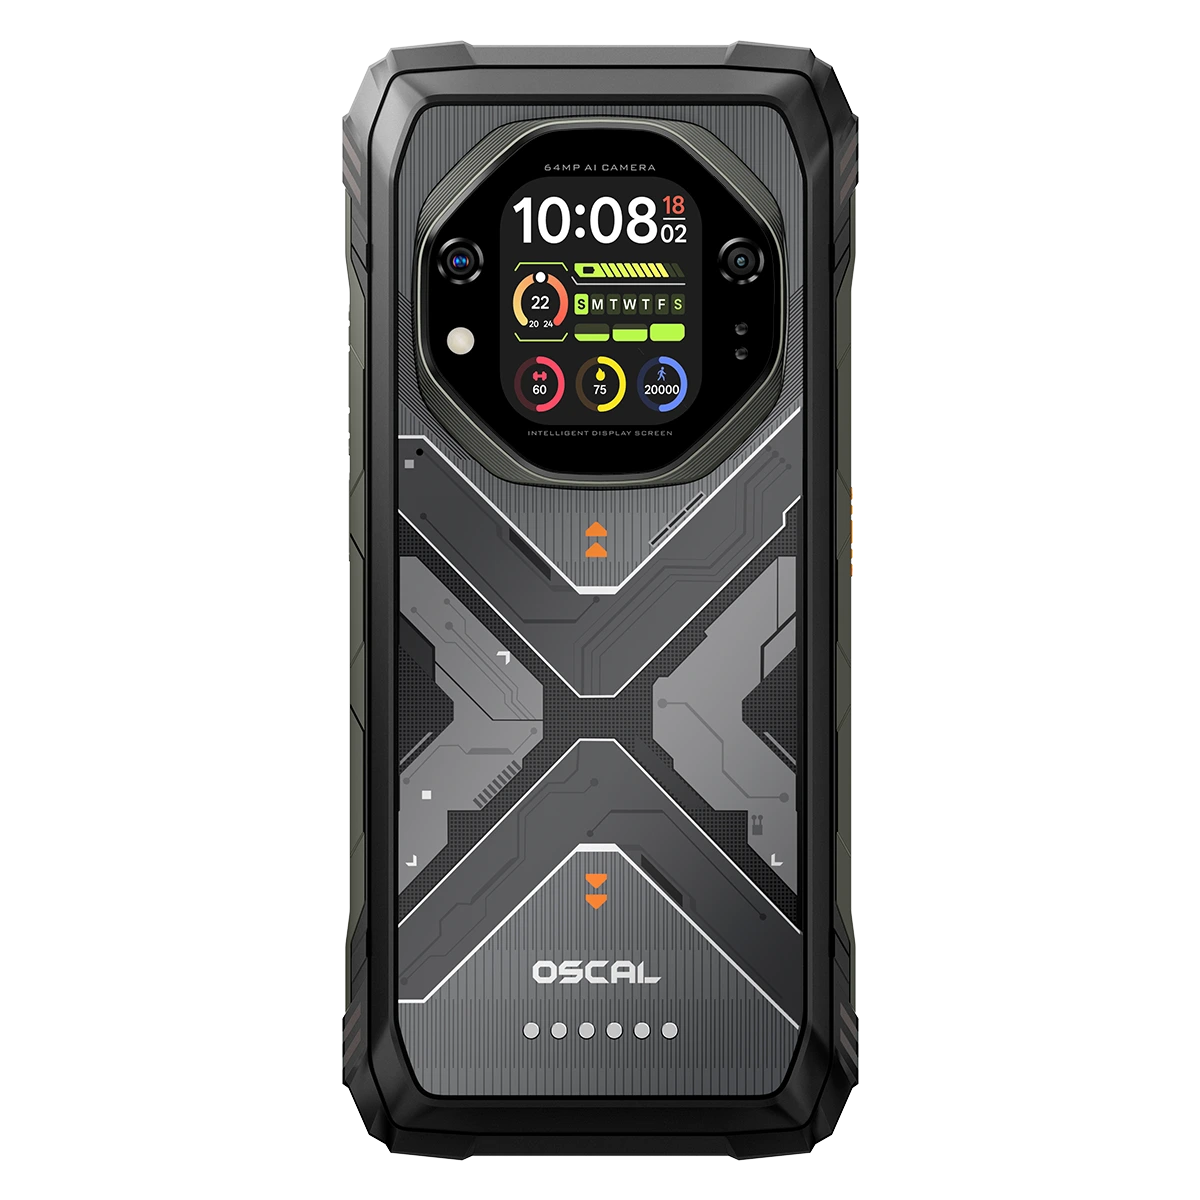
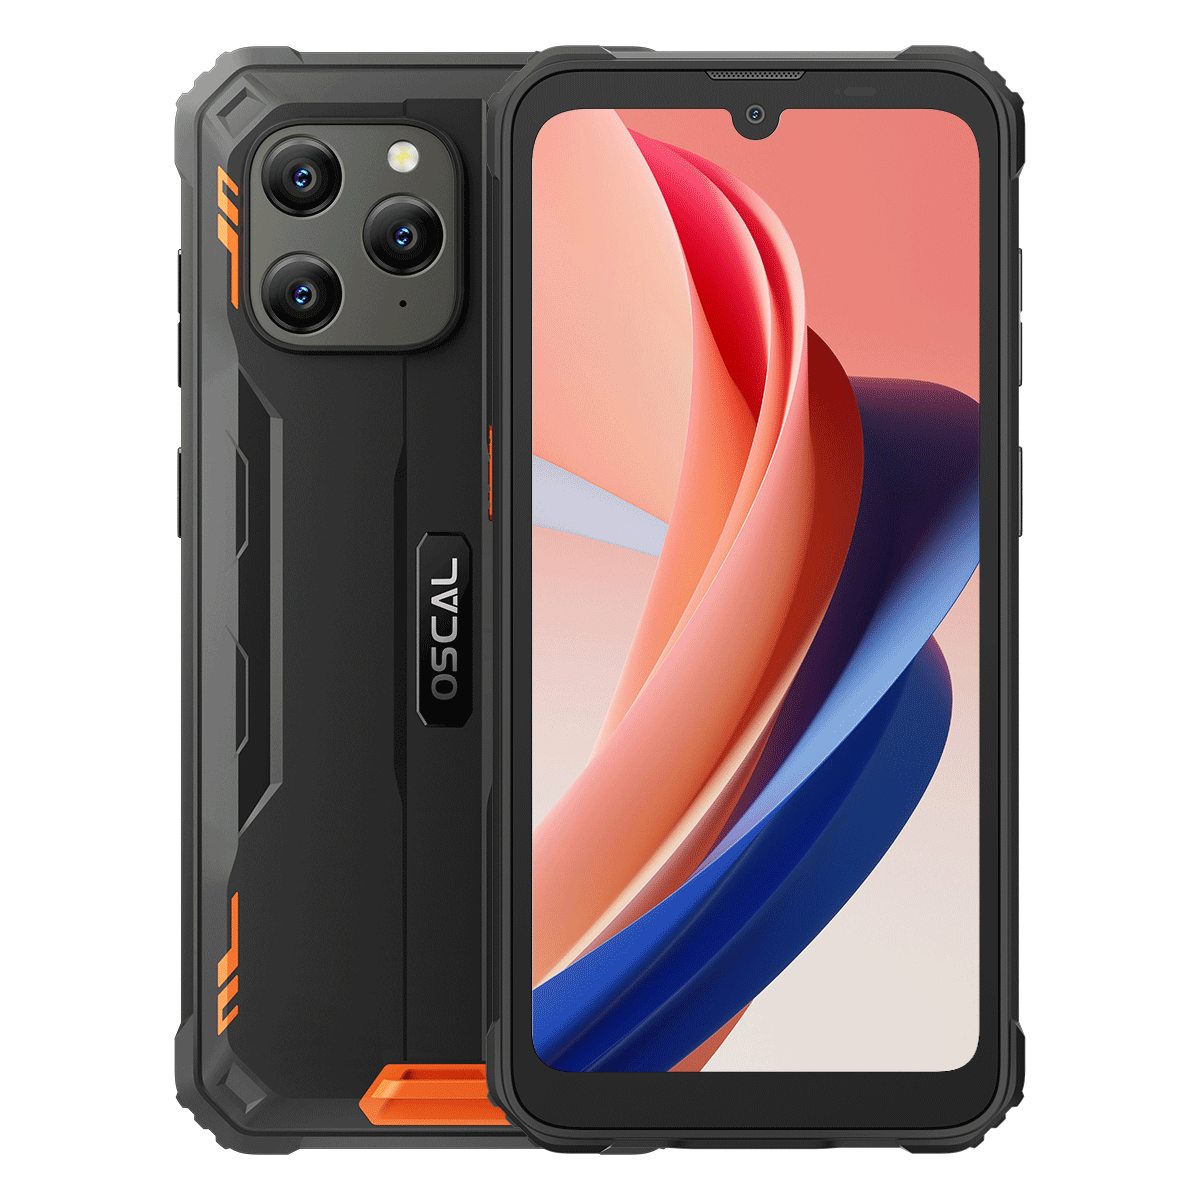
So, is there no solution? The answer is no. For adults who frequently spend time outdoors, a rugged smartphone can be an ideal solution. These phones are designed for demanding environments and typically feature much larger battery capacities than regular smartphones.
Some rugged smartphones not only offer batteries ranging from 10000mAh to 20000mAh, but they are also built to be shockproof, waterproof, and dustproof. This means they can easily handle accidental drops, rain, dust, and other unexpected situations you might encounter while flying a drone outdoors.
With a high-capacity rugged phone, you can control your drone for longer sessions without constantly worrying about battery levels. Combined with their durability and reliability, rugged smartphones make an excellent outdoor companion, ensuring both your phone and your drone experience remain uninterrupted.
Final Tips for a Better Flying Experience
Always launch the app before turning on airplane mode or disabling mobile data if required by your drone model. Keep your phone cool and avoid direct sunlight, as overheating can cause app crashes.
With practice, connecting your drone to your phone will become second nature. Following these detailed steps ensures a reliable connection, safer flights, and a more enjoyable drone flying experience every time.


