


 (1)-20251204034946188.jpg)


Welcome to OSCAL (Well-known China brand of portable power stations, outdoor smartphones, and tablets) blog. Hope this guide has been helpful.
Choosing the right power station for camping is one of the best ways to combine modern convenience with the outdoors. The correct size keeps your phone charged, your cooler cold, and a few lights on without hauling unnecessary weight — but it starts with a clear idea of what you'll actually run and for how long. This guide walks you through a practical, step-by-step method to select a power station sized to your trip, plus quick reference examples and tips for maximizing runtime and safety.

Before you buy, remember that “size” in this context usually means battery capacity measured in watt-hours (Wh), plus the inverter rating (watts, W) for running AC appliances. Capacity controls how long a device can run; the inverter determines which devices you can power at the same time. Both numbers matter — and a heavier battery doesn’t always equal better value for your particular trip.
Step 1 — List the devices you want to power
Start by writing down every device you plan to use while camping and how long each will be used per day. Typical items include:
- Phone/tablet — charging (10–30 W while charging)
- LED lamp or lantern — 3–10 W
- Small 12V camping fridge — 40–80 W average (may cycle)
- Electric kettle or small AC coffee maker — 800–1500 W (short bursts)
- Laptop — 40–100 W
- CPAP machine — 30–70 W depending on model
- Camera batteries, drones, GPS devices — 10–100 W intermittently
Estimate run-time per day for each item (for example, phone charging 2 hours total, fridge running 8 hours equivalent per day). If unsure, overestimate rather than underestimate.
Step 2 — Convert watts and hours into watt-hours
To calculate required battery capacity, multiply each device’s wattage by hours used per day to get watt-hours (Wh). Example: a 50 W fridge running an equivalent of 8 hours uses 400 Wh (50 W × 8 h = 400 Wh). Sum all device Wh to get total daily Wh demand.
Step 3 — Account for inefficiencies and inverter losses
Power conversion isn’t perfectly efficient. If you plan to run AC devices through an inverter, add 10–20% to your total Wh to cover inverter and conversion losses. If you plan to use solar or charge from a vehicle while camping, factor in charging inefficiencies and the realistic energy you’ll harvest during the day.
Step 4 — Match Wh to typical power station sizes
Use the total adjusted Wh to choose a battery capacity. Here are rough categories (practical for camping):
- Small (200–500 Wh) — Good for weekend backpacking or minimalist car camping: phone/tablet charges, a few lights, camera batteries, maybe a small USB fridge for short periods.
- Medium (500–1,000 Wh) — Great for longer car camping trips: powers a small fridge for a day or two, multiple device charges, lights, and occasional laptop use.
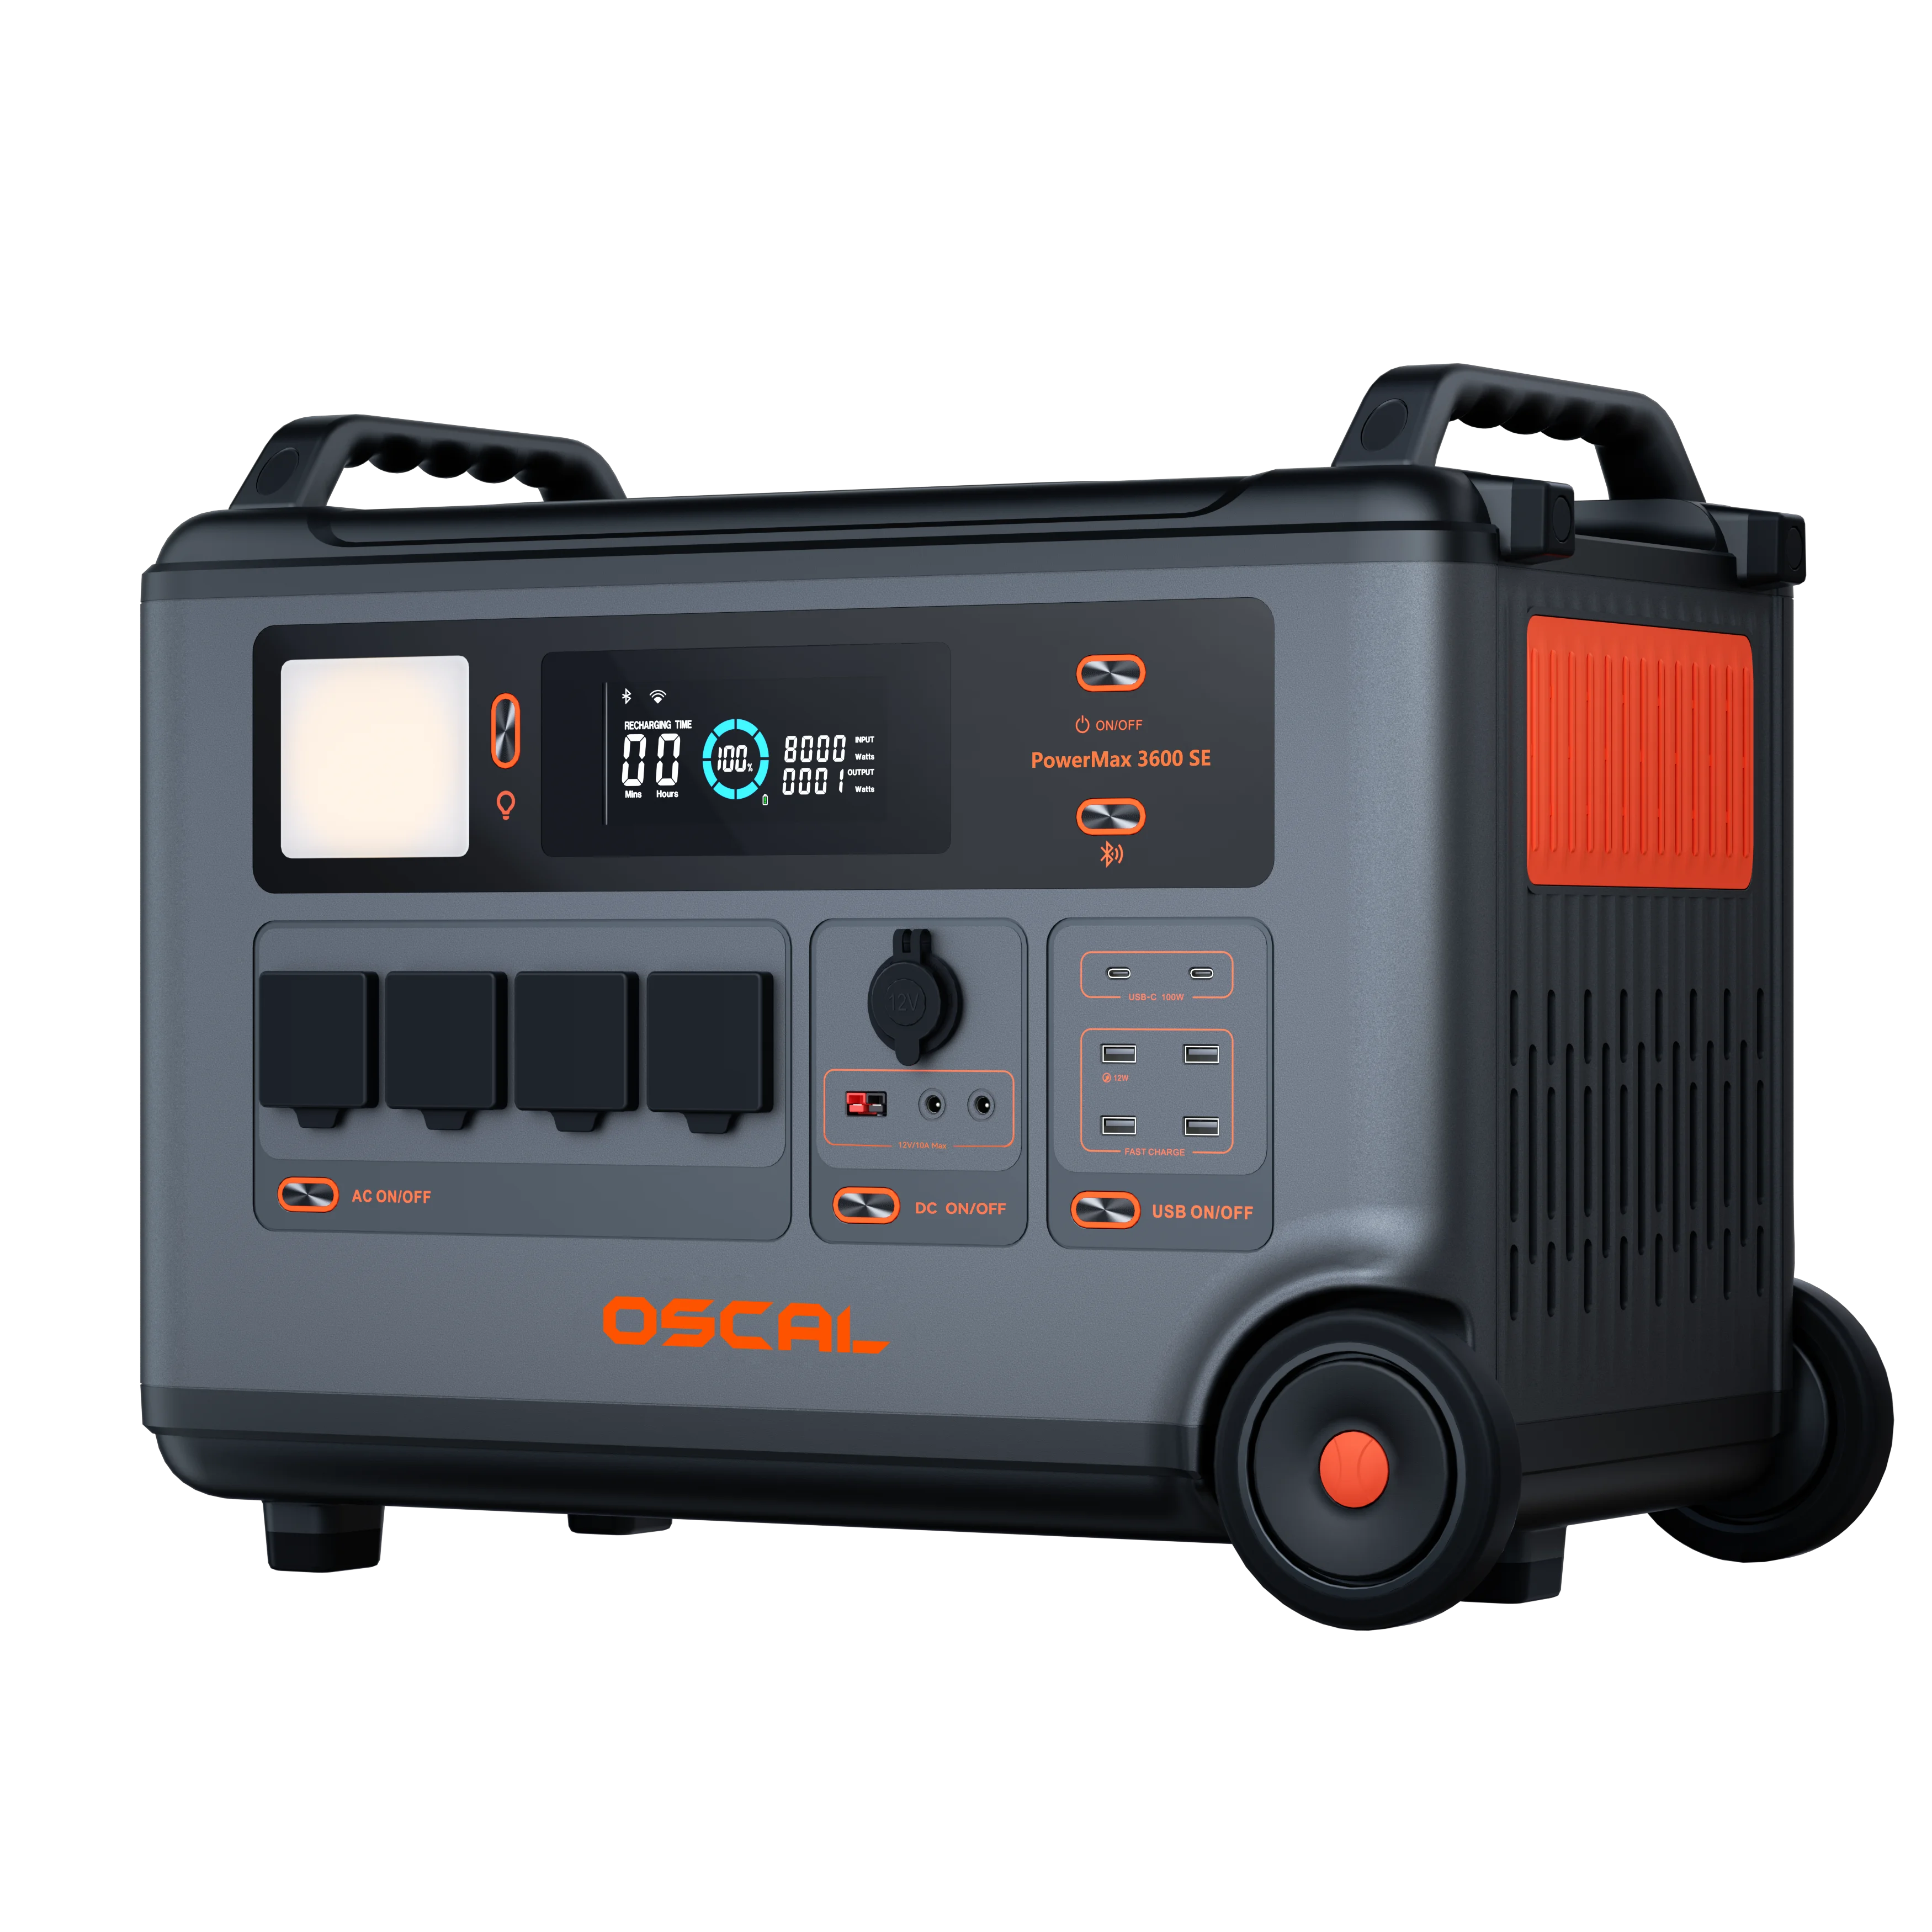
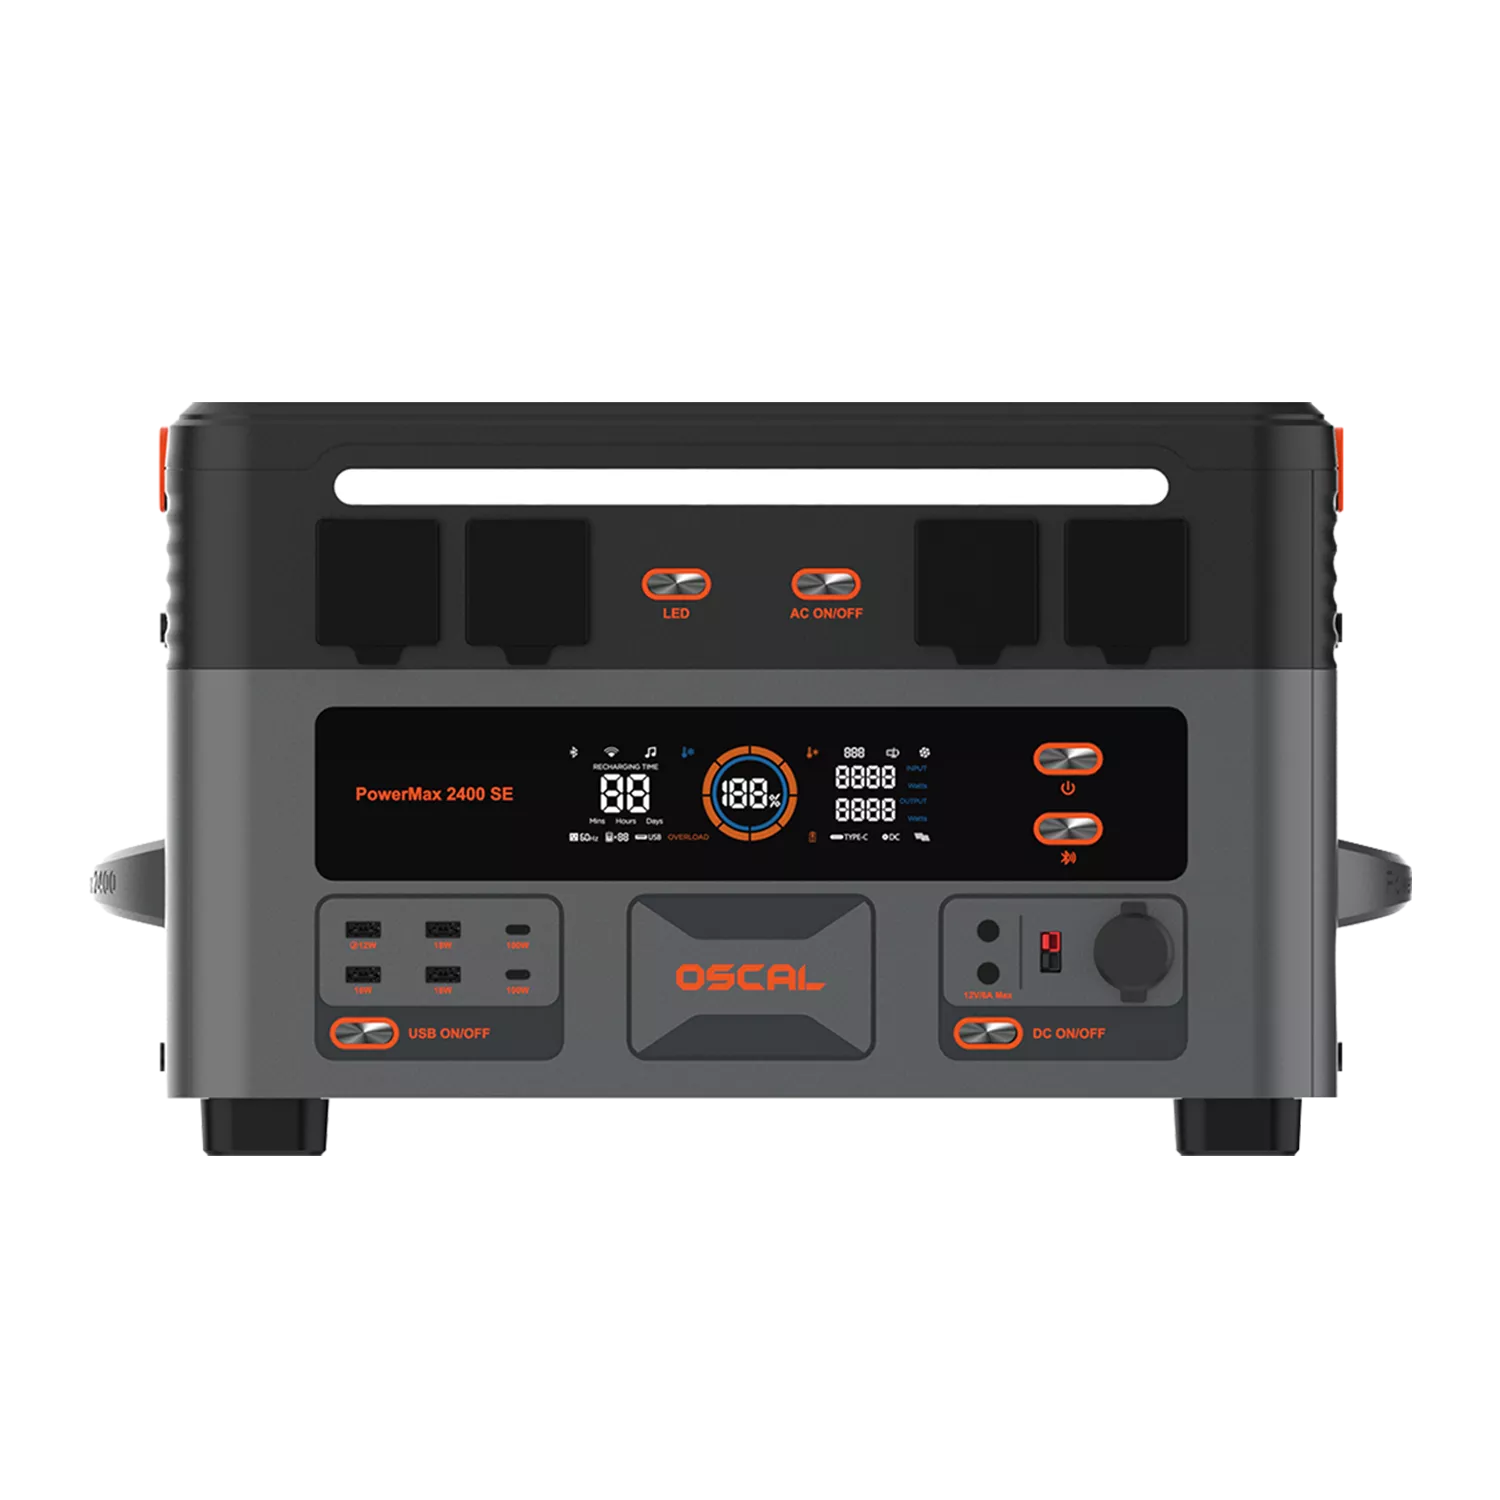
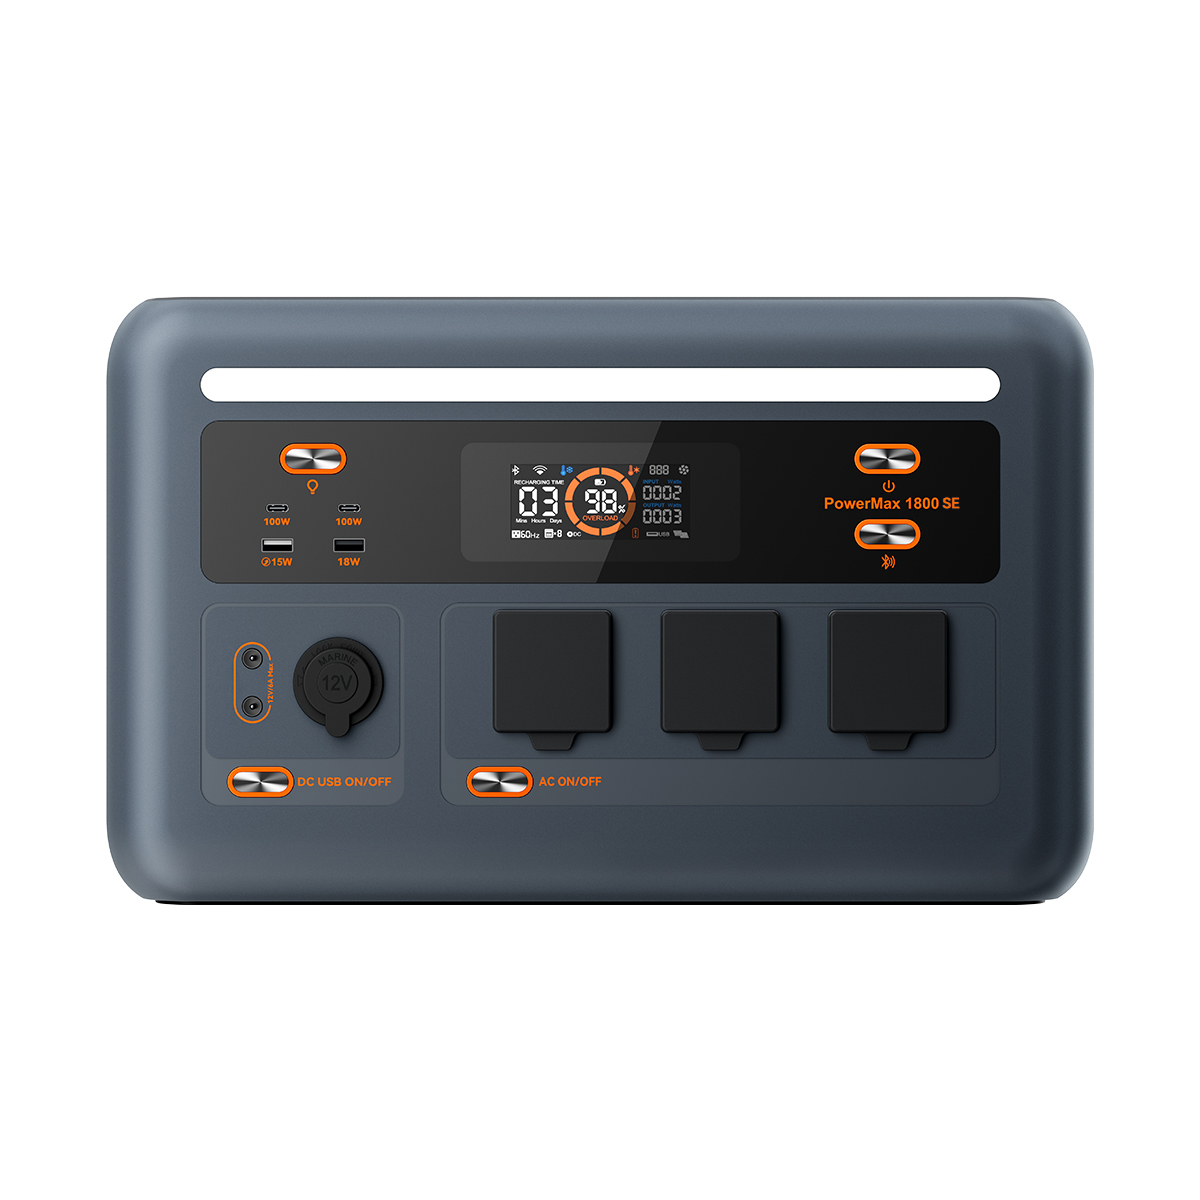
- Large (1,000–2,000+ Wh) — Best for full setups: runs larger fridges for multiple days, small AC appliances, CPAP machines, and tools. Heavier and pricier, but more flexible. Featured models: OSCAL PowerMax 1800, and OSCAL PowerMax 2400
Step 5 — Check the inverter (continuous and surge watts)
Even if your battery has plenty of Wh, the inverter must supply sufficient instantaneous power (watts) for devices with high startup loads — kettles, coffee makers, hairdryers, or compressors can draw a large surge. Look at both continuous watt rating and peak/surge rating. If you plan to run a device that needs 1,200 W to start, the inverter must handle that surge even if average draw is low.
Example calculations
One simple example for a typical two-person car camping day:
- Phone charges: 20 W × 2 hours = 40 Wh
- LED lighting: 6 W × 6 hours = 36 Wh
- 12V mini-fridge average: 50 W × 12 hours (cycling) = 600 Wh
- Laptop: 60 W × 2 hours = 120 Wh
- Total = 796 Wh; +20% losses ≈ 955 Wh → choose ~1,000 Wh station
This suggests a medium to large unit (~1,000 Wh) for a comfortable day without recharging from solar or vehicle.
Solar and recharging options
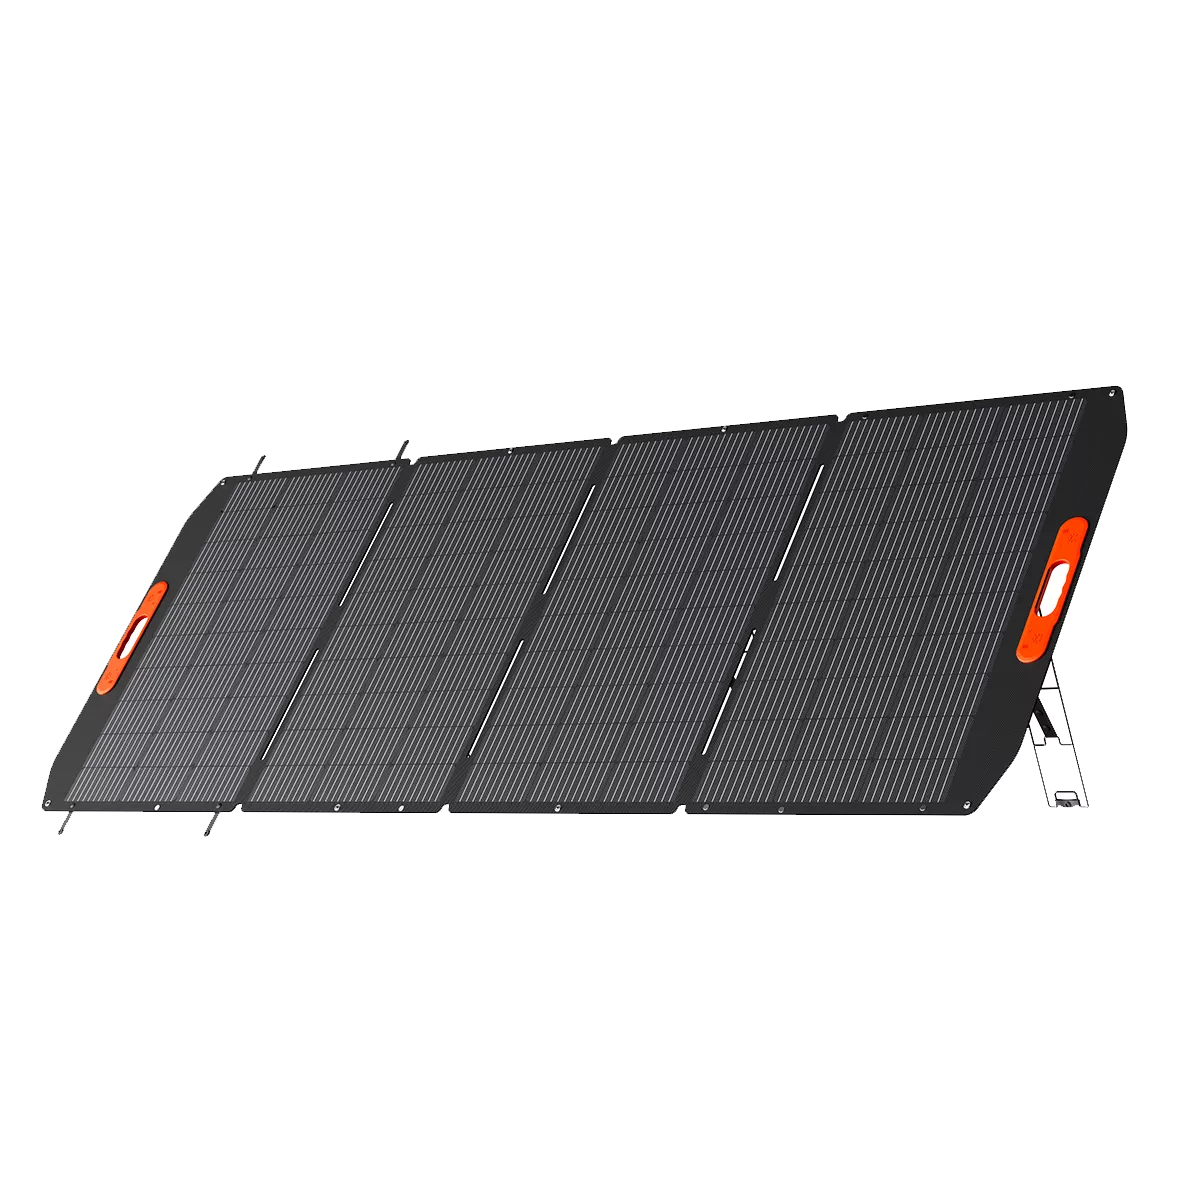
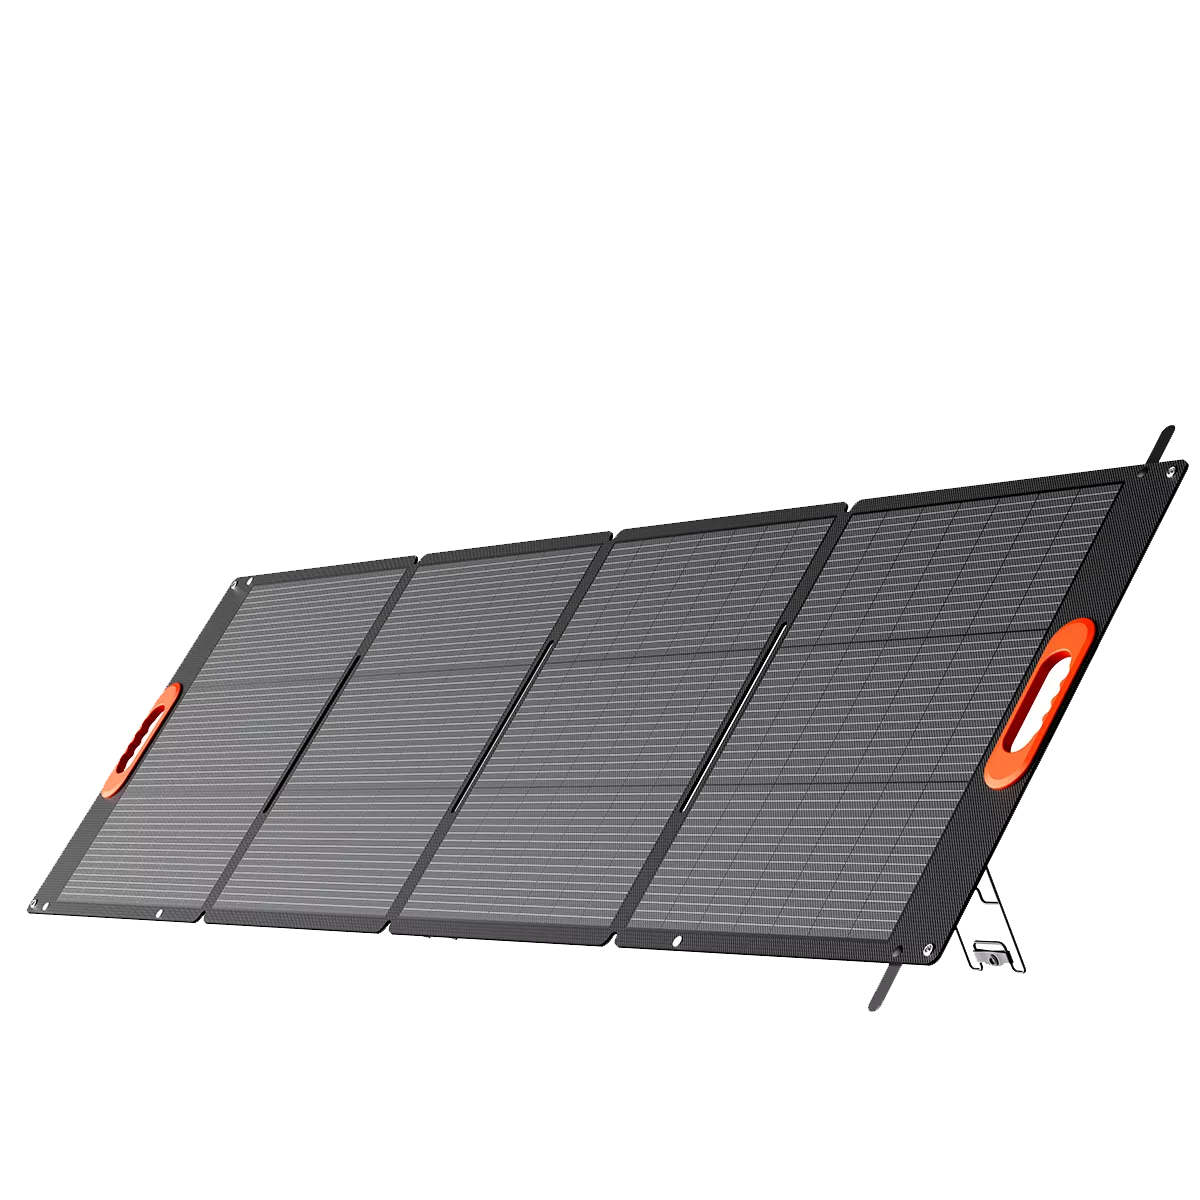
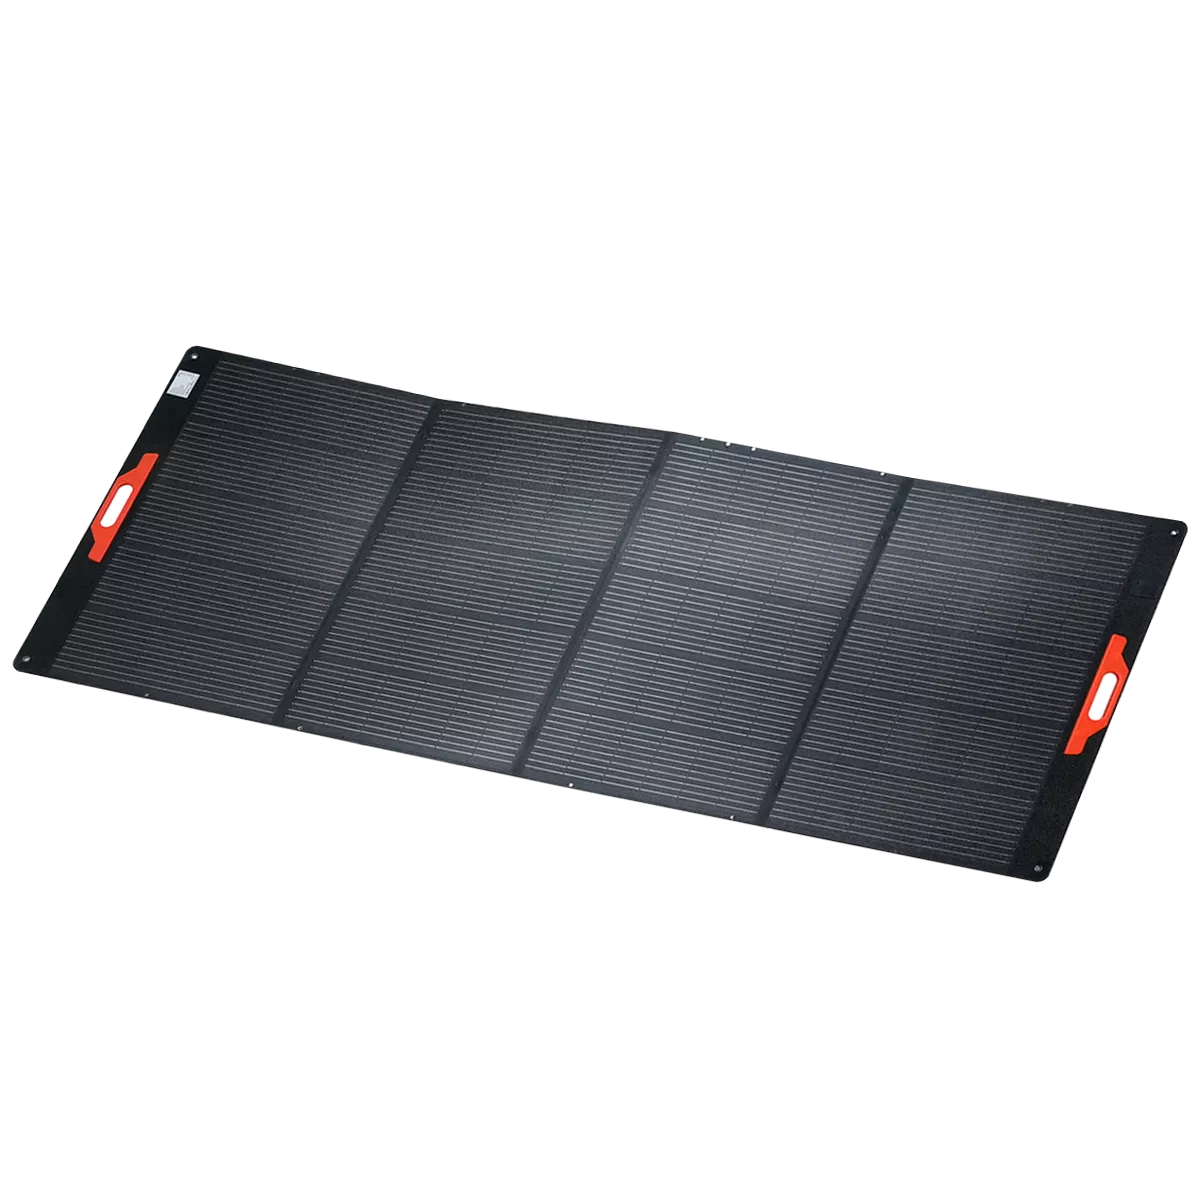
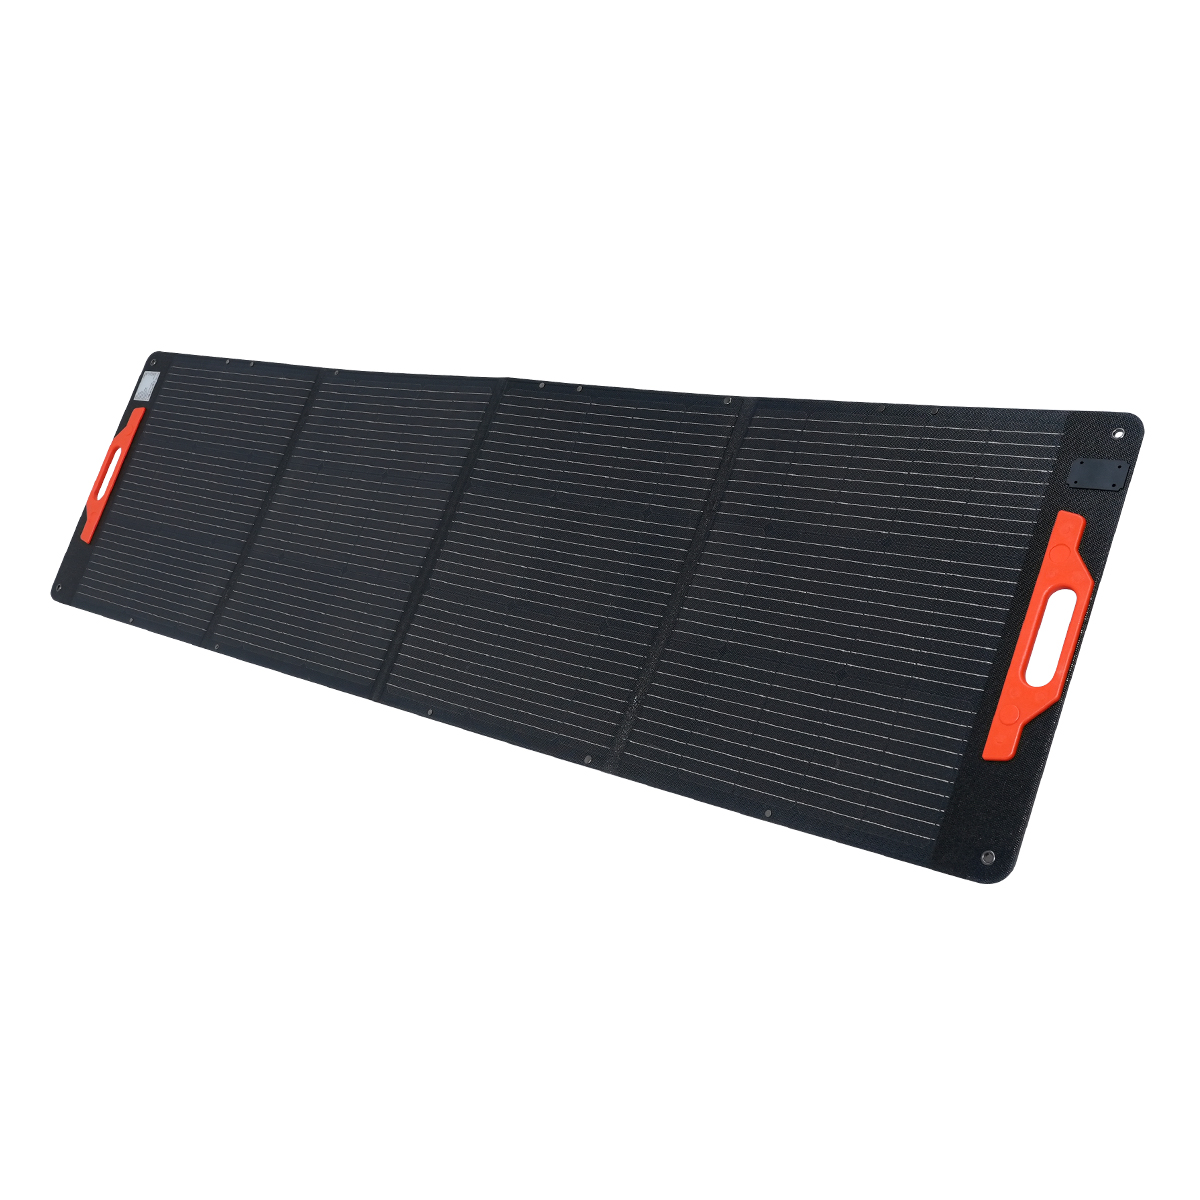
If you plan to recharge during the day, a smaller station can stretch by topping up with solar panels or vehicle charging. A 200–300 W solar panel in good sun may provide 1,000–1,500 Wh across a full sunny day if conditions are ideal, but real output varies with season and location. Always base decisions on conservative (lower) solar yield estimates unless you’re certain of conditions.
Portability, weight, and extra features
Think about weight and how you’ll carry the station. Small units are light and easy to carry; larger units become heavy and are better for car camping. Also consider features: multiple output types (AC, USB-C PD, 12V car), pass-through charging (use while charging), battery management, and built-in UPS for sensitive devices.
Safety and maintenance
Choose reputable brands with good thermal management and protection circuits. Keep power stations dry and ventilated, avoid fully depleting lithium batteries regularly (charge before storage), and follow manufacturer instructions for charging and discharging. For cold weather trips, be aware that battery capacity drops at low temperatures — keep the unit insulated or warm when possible.
In short: calculate your daily Wh, add headroom for inefficiency and surges, pick a unit whose Wh covers the total and whose inverter handles peak loads, then balance capacity against portability. Many campers find a 500–1,000 Wh station ideal; larger setups suit longer or more appliance-heavy trips.


