






















 (1)-20251204034946188.jpg)















Welcome to OSCAL (Well-known Chinese brand of Android tablet, projector, and portable power station) blog. Hope this guide has been helpful.
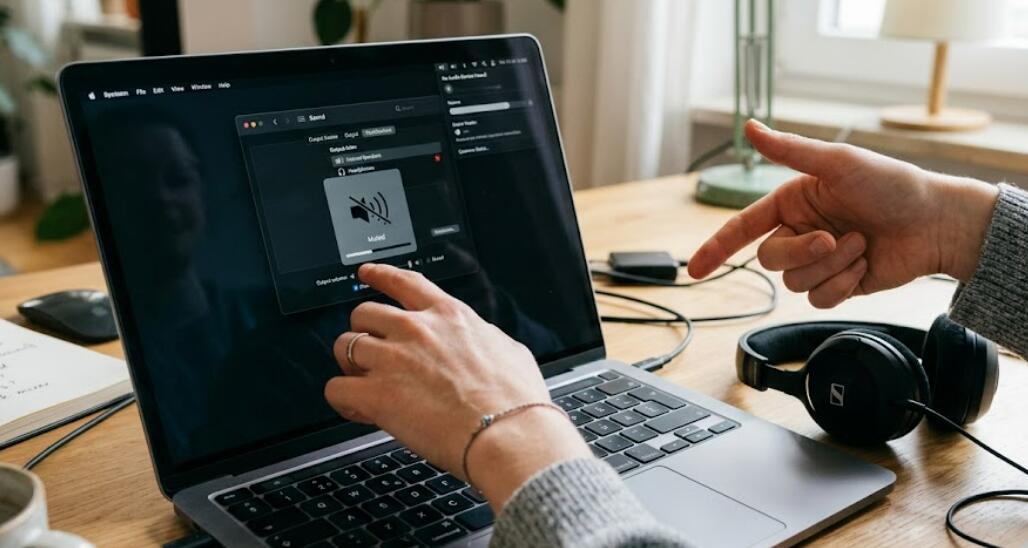
Audio problems on a laptop can be frustrating, whether you're trying to attend an online meeting, watch a movie, play games, or listen to music. Sometimes the issue is as simple as the volume being muted, while in other cases it may involve outdated drivers, incorrect audio settings, or hardware problems. Fortunately, many common laptop sound issues can be fixed without professional repair.
- Read also: Laptop touchpad not working? Here's how to fix
- My laptop won't power on, how to fix?
- How to fix HDMI port stopped working on a laptop?
This quick guide walks you through the most effective troubleshooting steps to restore sound on your laptop. Start with the easiest solutions and work through the list until your audio works again. These methods apply to most Windows laptops, and many of the basic checks are also useful for other operating systems.
Check the Volume Settings
Before trying advanced troubleshooting, make sure the laptop isn't simply muted or set to a very low volume.
- Press the volume up key on your keyboard.
- Click the speaker icon on the taskbar.
- Increase the system volume to an appropriate level.
- Make sure the mute option is turned off.
- Open the application you're using and verify its internal volume settings.
Sometimes only a specific app is muted while the rest of the system produces sound normally.
Verify the Correct Audio Output Device
If your laptop is connected to Bluetooth headphones, USB speakers, or an external monitor, the system may be sending audio to the wrong device.
- Click the speaker icon in the taskbar.
- Select the audio output menu.
- Choose your laptop speakers as the default playback device.
- Disconnect any unused Bluetooth or wired audio devices.
- Test the sound again.
Restart Your Laptop
A simple restart can resolve temporary software glitches that prevent audio from working properly.
- Save your work.
- Close all open applications.
- Restart the laptop instead of shutting it down.
- After rebooting, test the speakers again.
Run the Built-in Audio Troubleshooter
Windows includes a built-in troubleshooting tool that can automatically detect and fix common sound problems.
- Open Settings.
- Select System.
- Choose Troubleshoot.
- Open Other troubleshooters.
- Run the Playing Audio troubleshooter.
- Follow the on-screen instructions.
The troubleshooter may identify disabled devices, incorrect settings, or driver-related issues automatically.
Check Speaker Settings
Your laptop speakers may have been disabled accidentally.
- Open the Control Panel.
- Select Sound.
- Open the Playback tab.
- Confirm your laptop speakers are enabled.
- Set them as the default playback device if necessary.
- Click Apply and test the sound.
Update or Reinstall Audio Drivers
Corrupted or outdated audio drivers are one of the most common causes of missing sound.
- Right-click the Start button.
- Open Device Manager.
- Expand Sound, video and game controllers.
- Right-click your audio device.
- Select Update driver.
- Search automatically for updated drivers.
- If the problem continues, uninstall the driver.
- Restart the laptop to allow Windows to reinstall it automatically.
Check Windows Audio Services
If essential audio services stop running, your laptop may produce no sound at all.
- Press Windows + R.
- Type services.msc and press Enter.
- Locate Windows Audio.
- Verify that the service is running.
- Restart the service if needed.
- Set its startup type to Automatic.
Disconnect External Devices
External hardware can occasionally interfere with audio playback.
- Unplug USB headsets.
- Disconnect external speakers.
- Turn off Bluetooth headphones.
- Remove HDMI cables connected to monitors or TVs.
- Restart the laptop and test the built-in speakers.
Install System Updates
Keeping your operating system updated can resolve compatibility issues and install important driver improvements.
- Open Settings.
- Select Windows Update.
- Check for available updates.
- Install all recommended updates.
- Restart your laptop after installation.
Test the Hardware
If none of the software fixes work, the issue may be related to the laptop's hardware.
- Plug in headphones to determine whether audio works through the headphone jack.
- Listen for any crackling or distorted sound.
- Inspect the speaker grills for physical damage.
- Run the manufacturer's hardware diagnostic tool if available.
- Contact technical support if the speakers appear to have failed.
Prevent Future Audio Problems
Following a few simple maintenance habits can reduce the likelihood of future sound issues.
- Keep audio drivers updated.
- Avoid installing unnecessary audio enhancement software.
- Restart your laptop regularly.
- Install operating system updates promptly.
- Disconnect unused audio devices when they are no longer needed.
- Create restore points before making major system changes.
Conclusion
Most laptop audio issues can be resolved with simple troubleshooting steps such as checking the volume, selecting the correct playback device, updating audio drivers, or restarting Windows services. Working through these solutions one by one often restores sound without requiring advanced technical knowledge.
If your laptop still has no audio after completing every step, the problem may be caused by damaged speakers or another hardware failure. In that case, running the manufacturer's diagnostic tools or contacting a qualified repair technician is the best way to identify and resolve the issue quickly.


